OpenResty是一个基于 Nginx 与 Lua 的高性能 Web 平台,其内部集成了大量精良的 Lua 库、第三方模块以及大多数的依赖项。用于方便地搭建能够处理超高并发、扩展性极高的动态 Web 应用、Web 服务和动态网关。本文介绍通过OpenResty+OpenWAF来搭建软WAF的应用,用来防护DVWA的靶机,然后我们通过攻击DVWA的靶机来看一下OpenWAF的防护效果。
一、OpenResty+OpenWAF安装
1、安装依赖
1 | yum install gcc gcc-c++ wget GeoIP-devel git swig make perl perl-ExtUtils-Embed readline-devel zlib-devel -y |
安装libcidr
1 | cd /opt |
升级openssl版本
1 | cd /opt |
下载pcre-jit
并解压pcre-jit,后面安装OpenResty的时候引入并安装
1 | wget https://udomain.dl.sourceforge.net/project/pcre/pcre/8.45/pcre-8.45.tar.gz --no-check-certificate |
2、安装OpenWAF
1 | cd /opt |
3、安装OpenResty
OpenResty官网的下载地址 https://openresty.org/en/download.html
目前最新版本是1.21.4.1
1 | cd /opt |
设置nginx开机自启动服务
1 | vim /lib/systemd/system/nginx.service |
1 | # 设置开机启动 |
当我们启动nginx的时候发现启动失败了,原因是因为原来安装了apache端口是80,nginx的端口也是80,端口冲突了。解决方案要不是改nginx端口,要不就是改apache的端口。这里将apache的端口改成8080。
1 | [root@localhost OpenWAF]# systemctl start nginx |
查看nginx启动状态
1 | [root@localhost OpenWAF]# systemctl status nginx |
修改apache的端口
1 | vim /etc/httpd/conf/httpd.conf |
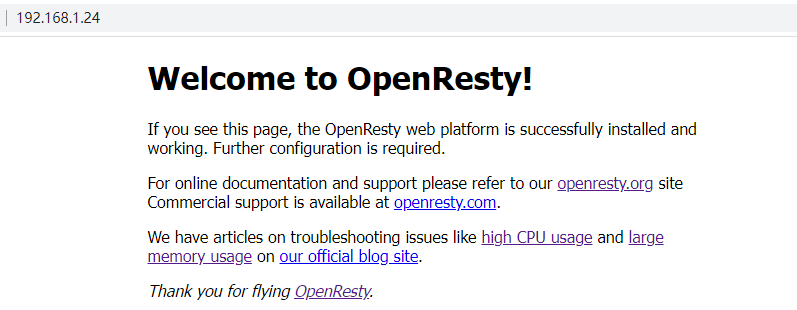
将apache的端口改成8080后,再次启动nginx就可以看到OpenResty成功启动了。
1 | systemctl start nginx |
二、配置OpenWAF的web防护
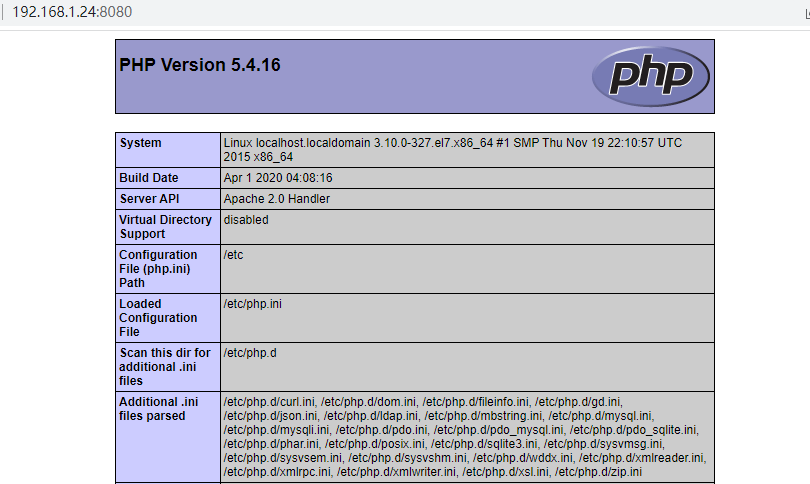
这边DVWA靶机的地址是http://192.168.1.24:8080/DVWA/ DVWA靶机的安装见另一篇博文《CentOS7+LAMP+DVWA靶机搭建》https://blog.csdn.net/fullbug/article/details/129879670
我们需要配置OpenResty+OpenWAF来对192.168.1.24:8080进行WEB防护
参考《轻松玩转OpenWAF之入门篇》及 《深入研究OpenWAF之nginx配置》
1、nginx配置修改
在 nginx 的 http 级别添加如下两行:
1 | include /opt/OpenWAF/conf/twaf_main.conf; |
要防护的 server 或 location 级别添加如下一行:
1 | include /opt/OpenWAF/conf/twaf_server.conf; |
OpenResty的nginx的配置文件在 /usr/local/openresty/nginx/conf/nginx.conf
具体配置参考下图: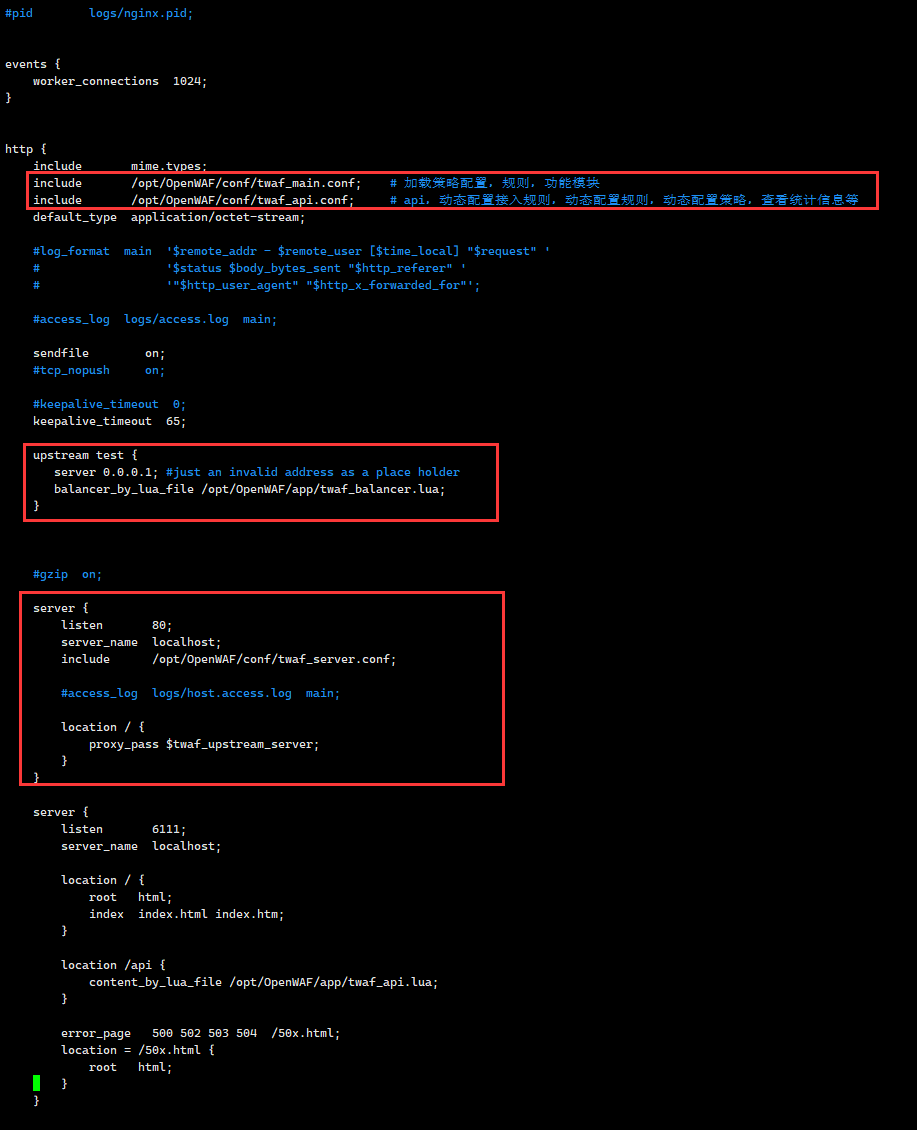
2、OpenWAF接入规则修改
修改/opt/OpenWAF/conf/twaf_access_rule.json文件
具体配置参考下图: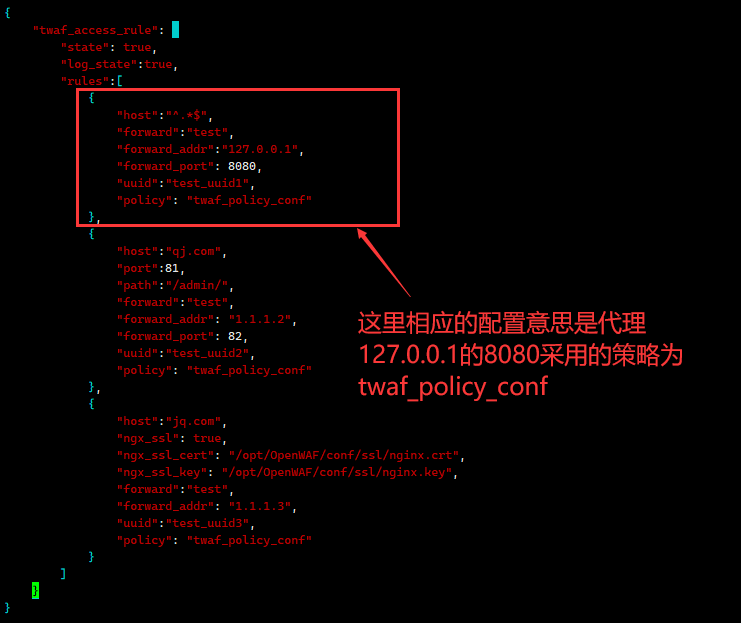
3、测试验证
这时候我们访问http://192.168.1.24/DVWA/ ,注意是没有带8080端口的,因为是通过OpenResty+OpenWAF来反向代理了127.0.0.1的8080端口,访问http://192.168.1.24/DVWA/ 是经过了OpenWAF防护的。
这时候我们开始通过SQL注入对DVWA的靶机进行SQL注入的攻击。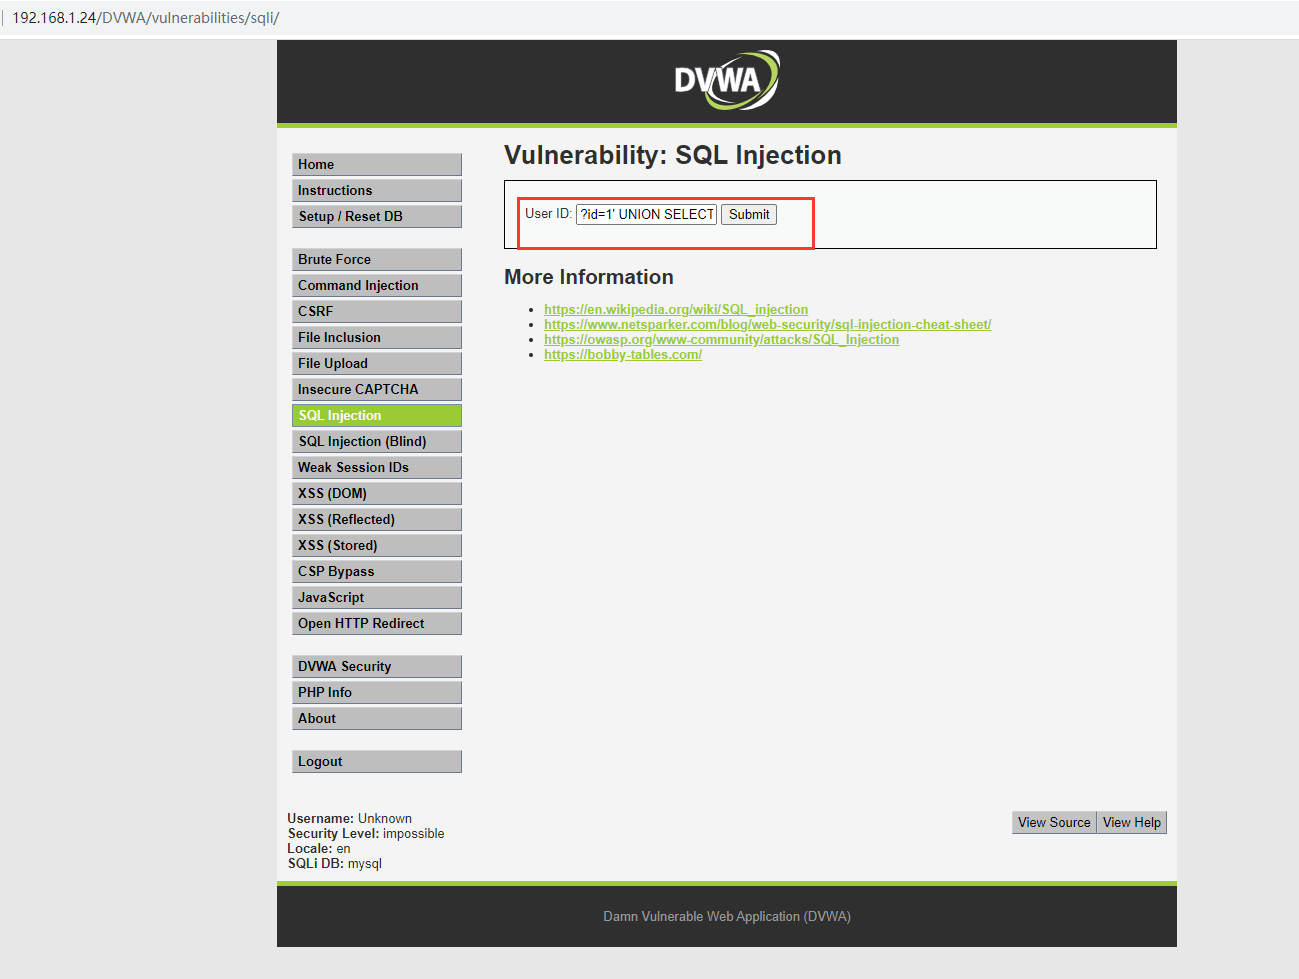
防护效果:
可以看到OpenWAF提示标识为攻击并记录,提示是有次SQL注入的攻击,并进行了防护。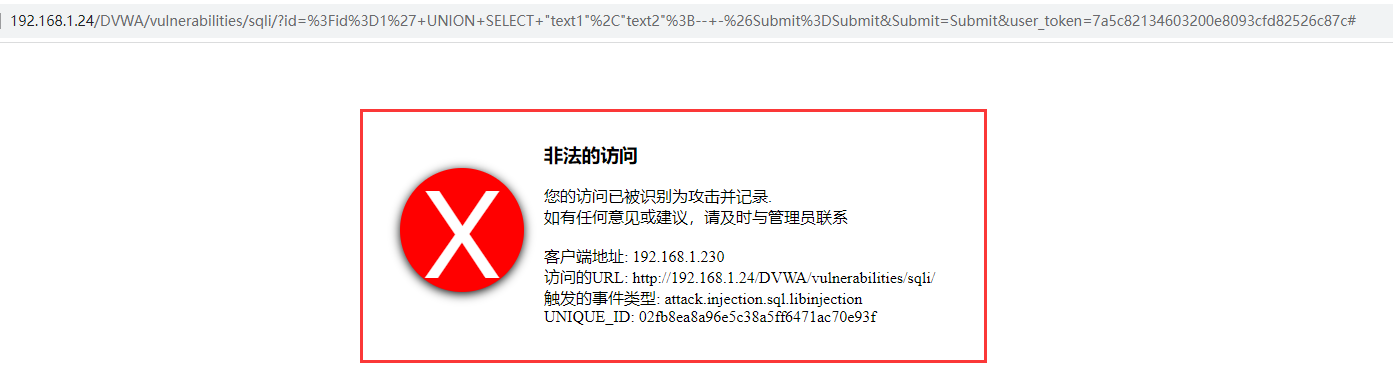
接下来我们进行一次XSS的攻击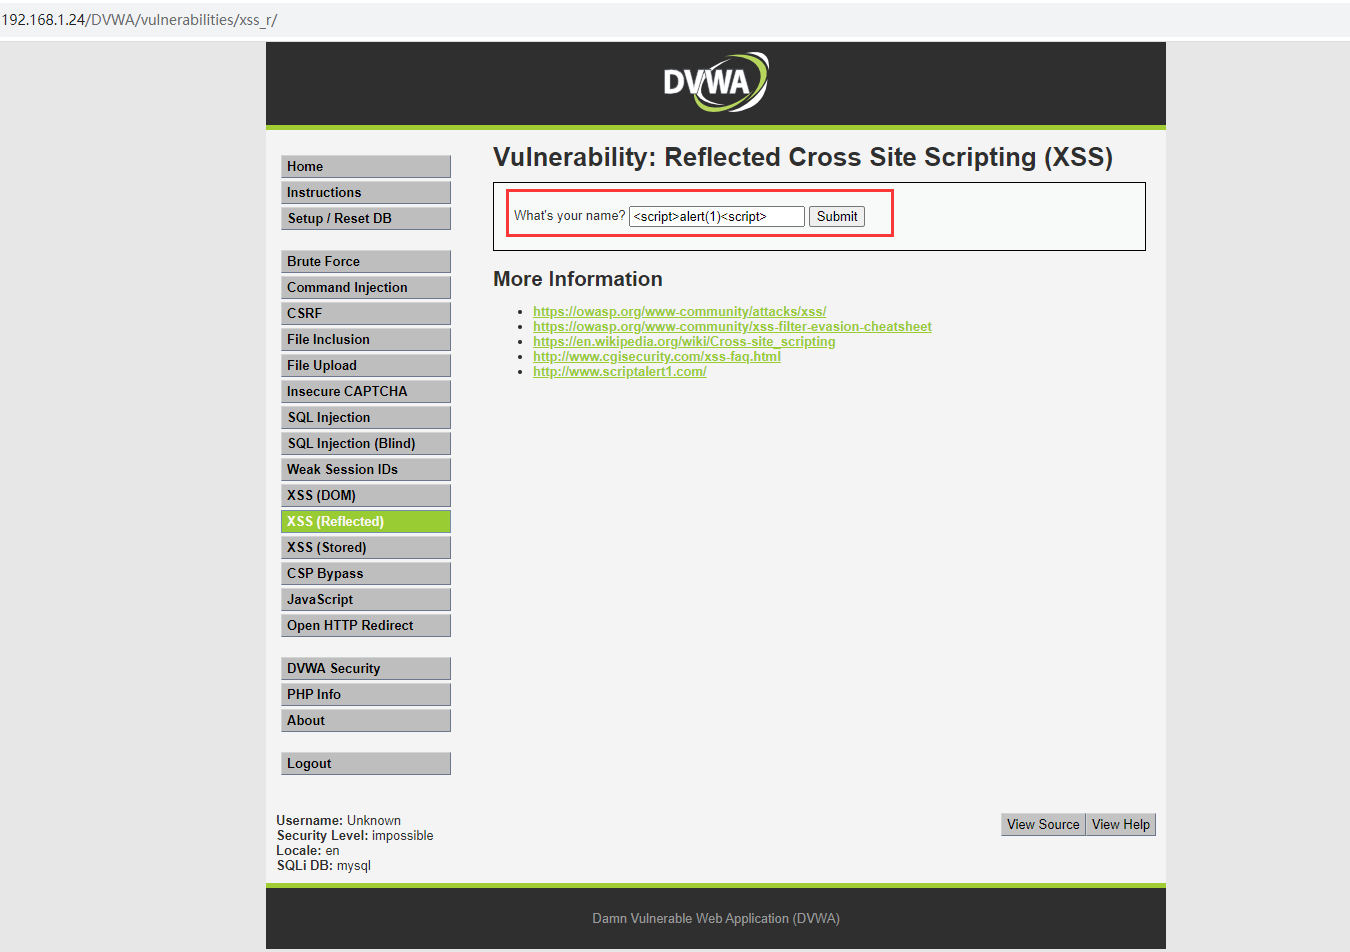
同样OpenWAF给出了XSS的攻击提示,并进行了防护。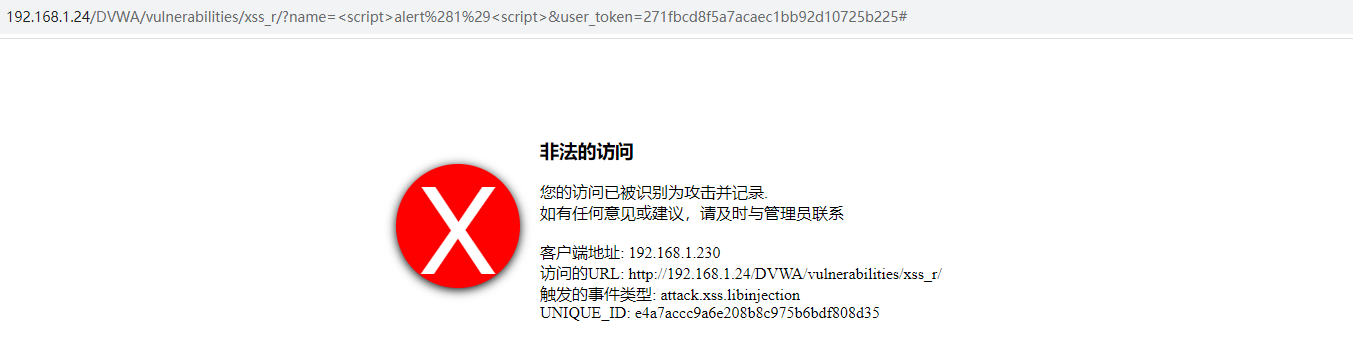
至此,本文介绍了OpenResty+OpenWAF的安装,并通过配置对DVWA的靶机进行了WEB防护,通过SQL注入及XSS的攻击,验证了OpenWAF的效果。OpenResty+OpenWAF是开源的软WAF解决方案,安装和配置相对简单,对于中小企业的web防护来说不失为一个低成本的解决方案。
作者博客:http://xiejava.ishareread.com/

关注:微信公众号,一起学习成长!